Beautiful Cornices
|
Do-It-Yourself Cornice Kits
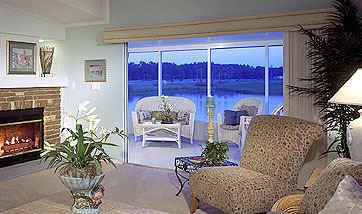
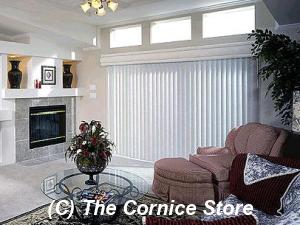
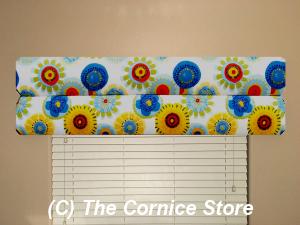
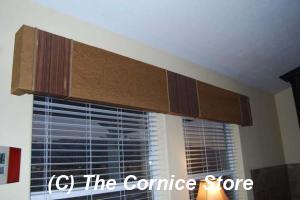
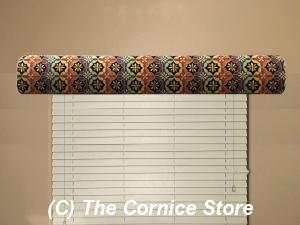
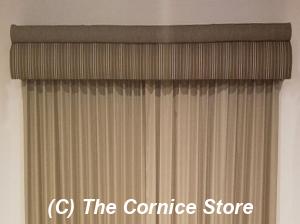
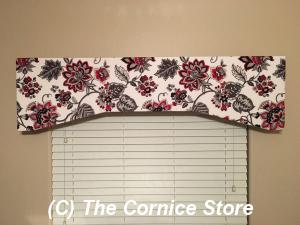
Cornices are an excellent way to bring color to a room using fabric. They can be used over blinds, verticals, sheers, draperies or shutters. Our completed "Do-It-Yourself", No Sew, Cornice Kits appear to be professionally made. Light weight, expanded polystyrene (Styrofoam) sections are simply glued together with a low temperature glue gun (200 - 250 degrees Fahrenheit) to create your special cornice for any size window or door. You can create professional looking cornices for openings as wide as 50 feet. Mounting brackets are provided for every 32 inches of cornice, preventing any dipping or swaying. This is an excellent way to replace those old fashioned valances with a hard, crisp, professional cornice. Get the look of a custom cornice for a fraction of the cost. The profiled surfaces provide an upholstered cornice without the weight of wood cornices. The pre-manufactured tuck grooves are designed to hold the fabric in place, giving the cornice a custom look. THERE IS NO SEWING REQUIRED! Since there is no need to glue the fabric to the cornice, you are able to change the color/pattern of the fabric as often as you change the decor in your home - it’s like having a whole new cornice! We offer cornice kits in the following styles:
If you are looking for a cornice with a custom drop, with your requirements. Our Bay Window Adapters and Corner Window Adapters make it super easy to accommodate those tough to measure angles. View our to see how easy it really is. If you have any questions about any of our products, . |
 
|
|
     
Copyright (c) 2009-2024 by the Cornice Store.
|